Suppliers Setting
Suppliers lets you manage the vendors from whom you buy inventory, set order warning levels, and define delivery schedules.
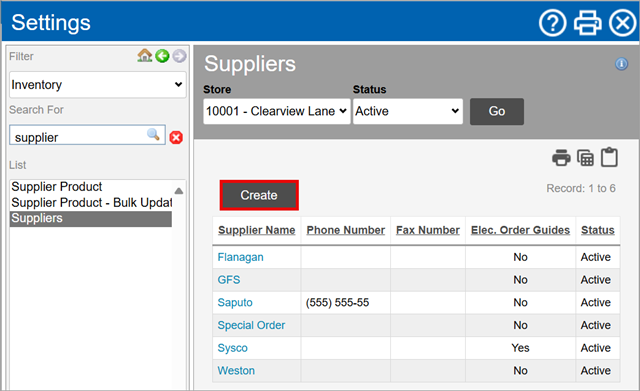
Create a New Supplier
-
Go to Suppliers settings.
-
Click on the Create button.

-
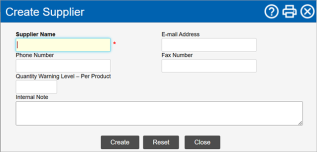
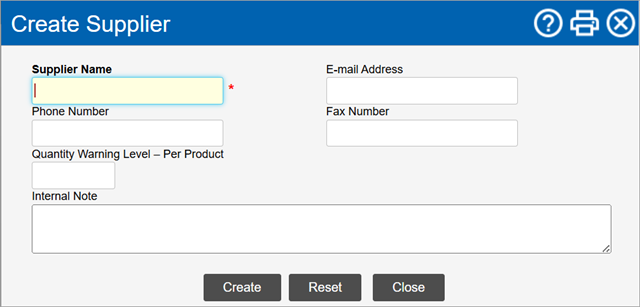
In the Create Supplier window:
-
Enter the Supplier Name.
-
Enter the E-mail address of the supplier.
-
Enter the Phone Number of the supplier.
-
Enter the Fax Number of the supplier.
-
Enter the Quantity Warning Level – Per Product.
-
Record any notes for internal use in Internal Note.
-
Click on the Create button.
-
Click on the OK button in the confirmation pop-up box A box with a prompt that opens up when you click certain links or buttons in Clearview..
-
To include store level details for the supplier, edit the supplier and then enter the details.
-
Edit Store Specific Details for a Supplier
Delivery Schedule
Delivery schedules automatically populate the Expected Delivery Date and Next Delivery Date fields when creating a PO.
-
To Create a Delivery Schedule:
-
Check the Area* and Store displayed in the filters Drop-down boxes that let you select from the options available. at the top of the page.
-
Change it to the store for which you want to create the delivery schedule if required, and then click on the Go button
-
-
Click the name of the Supplier in the Supplier Name column.
-
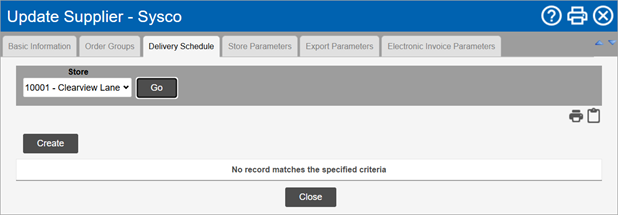
Click the Delivery Schedule tab.
-
Click on the Create button.

-
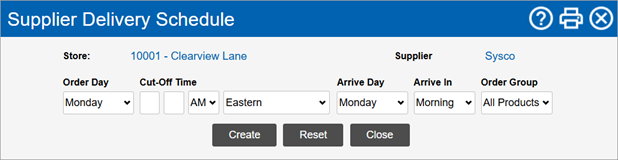
In the Supplier Delivery Schedule window:

-
Select the Order Day and Cut-Off Time for the deadline by which the order must be placed in order to receive it by the next delivery day.
-
Select the day the supplier delivers from the Arrive Day drop-down list.
-
Select whether the supplier delivers in the Morning or Afternoon from the Arrive In drop-down list.
-
Select the Order Group for the schedule being created if applicable.
-
Click on the Create button.
-
Click on the OK button in the confirmation pop-up box A box with a prompt that opens up when you click certain links or buttons in Clearview..
-
-
Store Parameters
-
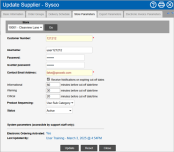
Click on the Store Parameters tab.
-
Check the Area* and Store displayed in the filters Drop-down boxes that let you select from the options available. at the top of the page.
-
Change it to the store for which you want to edit the controls if required, and then click on the Go button
-
-
Enter or edit the identification number required to receive automatic electronic order guide updates from the supplier in Customer Number if required.
- Enter the Username* provided by the supplier for submitting orders electronically.
-
Enter the Password* to submit orders electronically to the supplier.
-
Re-enter the password in Re-enter password* to verify that the correct password has been entered.
-
Enter or edit the email address at which your store can be contacted by the supplier and notifications will be sent, in Contact Email Address.
-
 To receive notifications on approaching order deadlines:
Notifications are sent by CLEARVIEW to the Contact Email Address when there hasn't been any purchase orders sent to the supplier by the cut-offs entered below.
Delivery schedules with Cut-Off Time are required to receive notifications.
-
Change the default Product Sequencing attribute for the Create Purchase Order page, from the Product Sequencing drop-down list.
-
Change the Status to Active to activate the store or Inactive/Inactive - Hidden to deactivate the store as required.
Inactive - Hidden works the same way as Inactive and is provided as an additional option. This is particularly helpful for stores with a large number of suppliers, as it allows them to segregate temporary inactive stores from a possibly more permanent inactive state.
-
Click on the Update button to save any changes made.
-
Click on the OK button in the confirmation pop-up box A box with a prompt that opens up when you click certain links or buttons in Clearview..
-

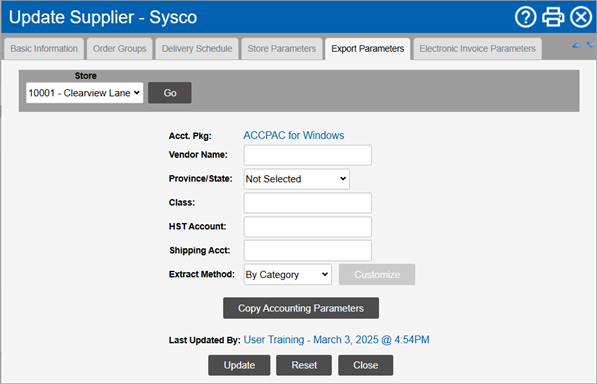
Export Parameters
-
Click on the Export Parameters* tab.
The Export Parameters tab will show only if the accounting package selected is compatible with CLEARVIEW.
Click here to learn how to select the accounting package.